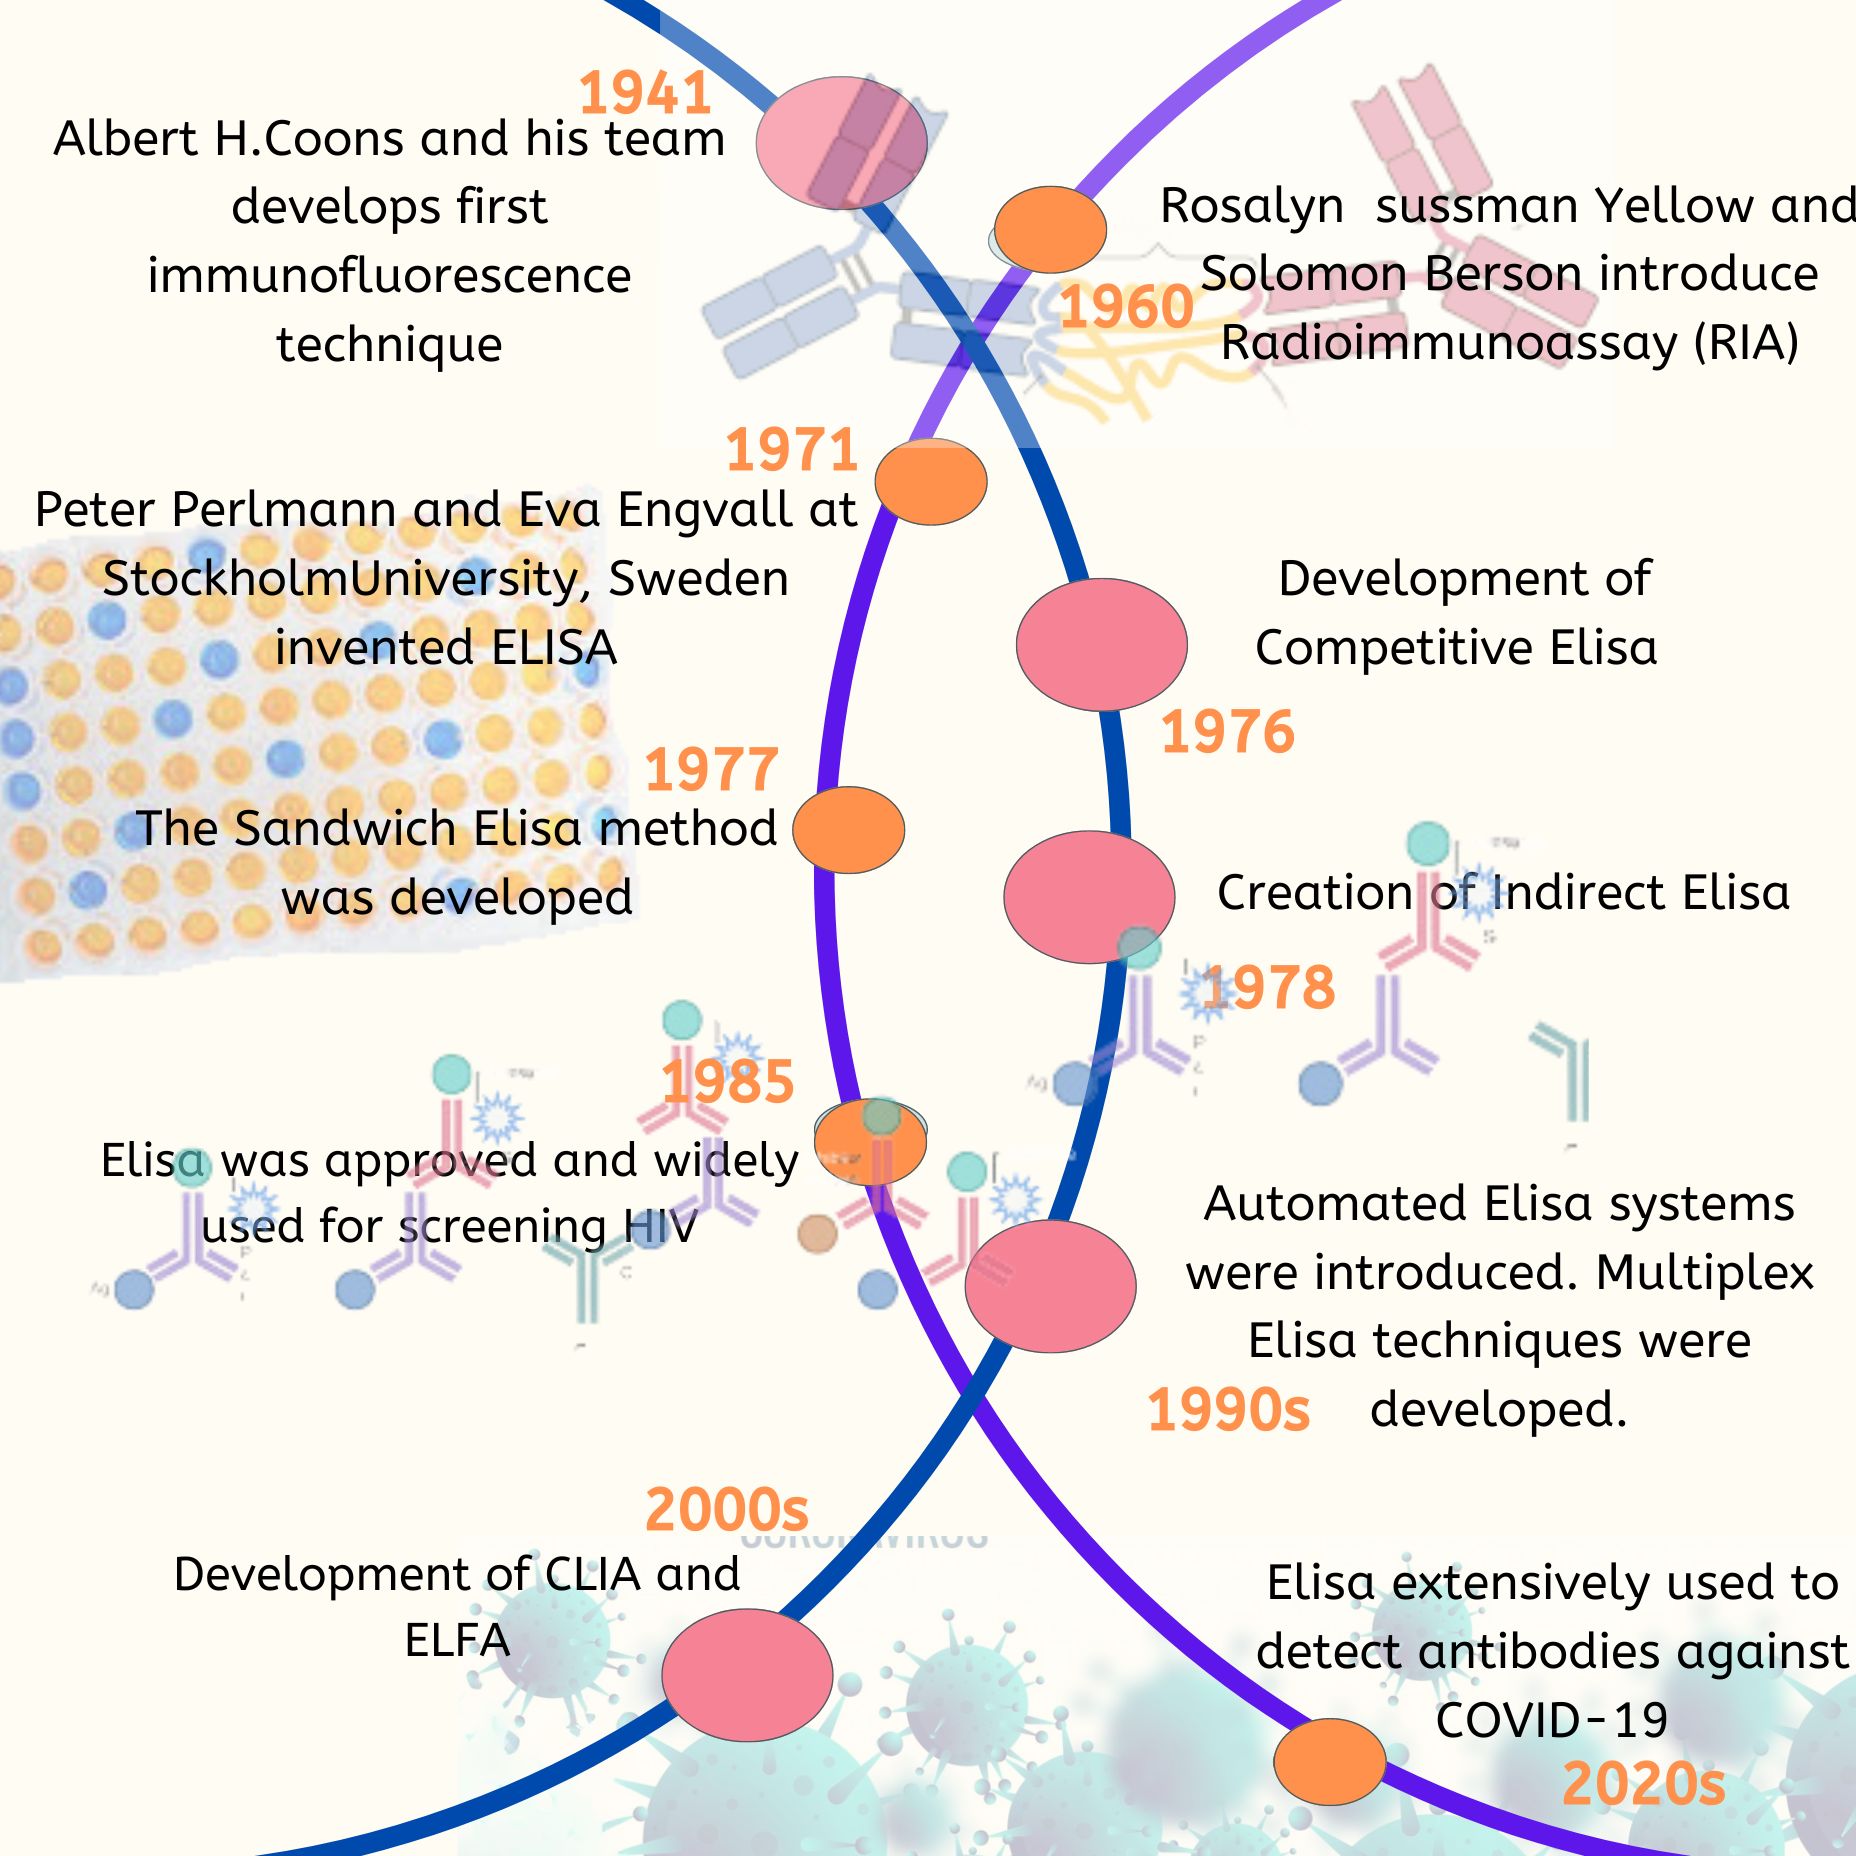
Introduction
Fluorescence in situ hybridization (FISH) technologies enable rapid detection of chromosome aberrations in all manner of tissues, including both fresh and archival specimens. These technologies have gained broad acceptance in the clinical cytogenetic and research communities. However, these same methods are used less frequently by noncytogenetic diagnostic pathology services. This is, in part, because FISH imaging equipment is not universally available to the diagnosticians (surgical pathologists) responsible for histological diagnoses. Therefore, it is gratifying that various improvements in ISH probes and detection protocols, particularly over the past five years, have enabled routine evaluation of enzymatic ISH by light microscopy.
The notion of interpreting DNA-based tests in conjunction with the standard histological appraisal is not new. However, there are very few pathology/histology laboratories which perform chromogenic in situ hybridization (CISH) for bright field detection, and there are even fewer laboratories which use such methods for dual color detection of chromosomal translocations, amplifications, or deletions. The methods described herein enable reproducible FISH or CISH evaluation of various chromosomal aberrations in a wide range of pathology specimens, including paraffin sections, frozen materials, and cytopathology preparations. Importantly, these methods provide a mechanism whereby molecular cytogenetic evaluations can be routinely integrated in a standard histopathology or cytopathology work-up. Most histopathology assays are performed in interphase cells rather than in cytogenetic metaphase preparations. Therefore, unique sequence and other locus-specific probes, e.g., alpha satellite probes, are generally more relevant as histopathology/ cytopathology adjuncts than are metaphase-oriented molecular cytogenetic approaches such as comparative genomic hybridization and chromosomal painting. Notably, locus-specific ISH is equally applicable to cytogenetic or archival preparations. Almost any source of intact nuclei can be used, including: (1) histological sections; (2) touch preparations; (3) cytological preparations; (4) bone marrow smears; (5) nuclei disaggregated from thick, e.g., 25–50 micron, paraffin sections; (6) nuclei disaggregated from frozen specimens; and (7) cytogenetic preparations. As discussed above, a key advantage in using histological sections is that the tumor cells are studied in their native architecture.
Pros and Cons of FISH vs CISH
FISH is more widely used for molecular cytogenetic analyses, particularly in cytogenetic laboratories, than is CISH. However, both methods have their distinct advantages and disadvantages. One substantial advantage of the FISH approach is that probe detection can be accomplished by direct detection. By contrast, chromogenic detection methods are indirect by definition, and CISH generally requires at least two additional steps beyond probe hybridization, prior to nuclear counterstaining. For example, a probe can be labeled with FITC or rhodamine, and thereby detected directly using the FISH method. The same probe might be labeled with biotin and then detected by sequential incubations with strepavidin-HRP and DAB, using the CISH method. Another advantage of FISH is that penetration of probes and detection reagents, to the target chromosomal regions, is accomplished more readily than with the larger detection proteins, e.g., alkaline phosphatase, customarily used in CISH detection. CISH, on the other hand, has several advantages that are of particular relevance in paraffin section applications. For example, paraffin section histological detail is generally better appreciated with brightfield, rather than fluorescence, counterstaining and viewing. This is in part because cellular and extracellular proteins can contribute to a dull, generalized, autofluorescence, which often obscures FISH signals in paraffin sections (see Note 1). Another factor is that large regions of the tissue section can be scanned rapidly after CISH counterstaining with conventional stains such as hematoxylin. Morphological detail is readily apparent using low-power objectives (×10 or ×20), and the CISH probe signals themselves can be apparent even at such low magnification. Fluorescence probe signals and counterstains on the other hand, are generally only appreciated at substantially higher magnification. A further advantage of CISH is that the probe signals are not subject to rapid fading and the slides can therefore be archived.
FISH/CISH in Histological Paraffin Sections
One advantage in performing FISH or CISH in paraffin sections is that paraffin embedded materials are readily available for virtually all pathology specimens. In addition, fixation and embedding methods can be standardized, leading to a very consistent platform for subsequent FISH or CISH detection. A unique advantage is that subtle differences in cellular morphology are often appreciated best when the cells are situated in their native architecture. It can be more difficult to identify different cell types once the individual nuclei have been extracted from paraffin sections. A disadvantage of histological paraffin sections (generally four–six micron) is that this thickness is less than the diameter of virtually all mammalian nuclei. Therefore, the nuclei are invariably incomplete, and evaluation of chromosomal deletions can be challenging. On the other hand, evaluation of gene amplifications or translocations is relatively straightforward. Thicker sections can be used, in order to accomplish better representation of intact nuclei. However, overlapping nuclei are then more of a problem.
Alternate Pathology Applications: FISH/CISH in Disaggregated Nuclei, Touch Preparations, and Cytological Preparations
The constraint of nuclear slicing, always an issue in thin paraffin sections, can be circumvented by any of several alternate approaches. In general, all of these approaches enable evaluation of FISH or CISH probes in intact cells. However, they provide less information about cell type and tissue architecture compared to the paraffin section methods described herein.
One approach involves disaggregating intact nuclei from thick (generally 25–50 micron) paraffin sections. This approach is particularly applicable when cells do not need to be evaluated in the context of their native architecture. However, in our experience, this method is less forgiving technically, compared to hybridization in thin paraffin sections. The enzymatic treatment required for release of nuclei can sometimes damage the nuclei, and this is compounded during subsequent slide denaturation steps. Therefore, a subset of specimens will evidence poor nuclear morphology and will have suboptimal FISH or CISH signals. Intact nuclei can also be disaggregated from fresh or frozen tissue specimens, and in general such applications are more foolproof than disaggregation from paraffin.
FISH or CISH can also be performed after pressing either fresh or thawed (frozen) tissue against a glass slide. These touch imprints require enzymatic digestion before probe hybridization. Otherwise, the labeled probes would not readily access their target chromosomal domains through the intact cell membranes and cytoplasm. An advantage of this approach is that nuclei are intact, and therefore evaluation of chromosomal deletions is straightforward. Disadvantages are that nuclear size and shape are altered by the requisite enzymatic treatment, and it can be difficult therefore to distinguish morphologically between different cell populations, e.g., neoplastic versus non-neoplastic cells.
Materials
Slide Treatment Before Hybridization
- Four-micron thick paraffin sections, mounted on Superfrost/Plus microscope slides.
- 60°C oven.
- Microwave oven.
- Slide Moat.
- Glass Coplin jars.
- Tris-EDTA solution: 0.1 M Tris-HCl, 40 mM EDTA, pH 7.0. Dissolve 24.2 g Tris-base and 29.22 g EDTA in 1800 mL dH2O, adjust pH with 10 N NaOH to pH 7, and QS to 2 L.
- Phosphate buffered saline (PBS): 137 mM NaCl, 2.7 mM KCl, 4.3 mM Na2HPO4, 1.4 mM KH2PO4. Dissolve 8 g NaCl, 0.2 g KCl, 1.44 g of Na2HPO4 and 0.24 g KH2PO4 in 900 mL of dH2O QS to 1 L.
- Digest-All 3.
- 10% buffered formalin phosphate.
- Xylene.
- 100, 85, and 70% ethanol.
Denaturation and Hybridization
- Thermocycler with slide adapter.
- 37°C humidified oven.
- Plastic slide chamber.
- Cover glass.
- Rubber cement.
- Biotin and/or Digoxigenin labeled DNA probes, e.g., Her2, C-Myc , N-Myc.
Post-Hybridization Wash
- 70–80°C waterbath.
- Glass Coplin jars.
- 20X SSC: Dissolve 175.3 g of NaCl and 88.2 g of sodium citrate in 800 mL H2O, QS to 1 L, and adjust pH to 7.0.
- 2X SSC: Mix 50 mL 20X SSC with 450 mL H2O.
- 0.5X SSC: Add 10 mL 2X SSC to 30 mL H2O.
- PBS/T: Add 250 μL Tween-20 to 500 mL of PBS.
Detection
FISH
- CAS-block.
- Antibody dilution: Dissolve 10 g of lyophilized normal goat serum in 100 mL of CAS-block.
- Strepavidin, Alexa-594 conjugate (Molecular Probes). Dilute at 1:500 in Antibody diluent.
- Anti-digoxigenin-fluorescein, Fab-fragment. Dilute at 1:500 in Antibody diluent.
- PBS/T.
- DAPI mounting medium.
CISH
- CAS-block.
- Antibody dilution: Dissolve 10 g of lyophilized normal goat serum in 100 mL of CAS-block.
- HRP-streptavidin. Prediluted, ready to use.
- Anti-digoxigenin-AP, Fab-fragment. Dilute at 1:500 in Antibody diluent.
- Anti-digoxigenin-fluorescein, Fab-fragment. Dilute at 1:500 in Antibody diluent.
- Alkaline phosphatase anti-fluorescein. Dilute at 1:500 in Antibody diluent.
- DAB Reagent Set. Prepared fresh according manufacturer’s protocol.
- Fast Red Substrate Pack. Prepared fresh according manufacturer’s protocol.
- Ultracleaning filter units (0.45 μm).
- PBS/T.
- Gill’s hematoxylin.
- Glycerogel.
Methods
Slide Treatment Before Hybridization
- Bake slides at 60°C overnight in an oven.
- Deparaffinize the slides in 3 changes of xylene, 15 min each.
- Dehydrate the slides in 100% ethanol, 3×, 2 min each, and air dry.
- Place Tris-EDTA solution in the microwave oven in a plastic Coplin jar or other microwave proof plastic slide container, then heat to 199°F using the temperature probe.
- Place the slides in the Tris-EDTA solution and continue the microwaving at 199°F for 15 min.
- Remove the slides and place them in the PBS.
- Blot excess PBS from the slides and then place slides in the humidified chamber of the Slide Moat (or other humidified incubator) at 37°C.
- Add 100–500 μL Digest-All 3 to the sections, and let digestion proceed for 1–30 min dependent on the tissue type and fixation (see Note 1).
- Stop the digestion by placing the slides in PBS.
- Fix the slides in 10% buffered formalin for 1 min, then rinse off the formalin by placing slides briefly in 40 mL PBS in a Coplin jar.
- Dehydrate the slides through 70, 85, and 100% ethanol, 2 min each, at room temperature. Air dry.
Denaturation and Hybridization
- Add sufficient probe to the section, e.g., 10 μL for an area corresponding to a 22 × 22 mm cover slip.
- Place coverslip over the section and seal edges with rubber cement.
- Place the slides on the slide holder in a thermocycler and denature the slides for 3 min at 94°C.
- Transfer the slides to a plastic slide chamber and place in a humidified incubator at 37°C overnight.
Post-Hybridization Wash
- Set the waterbath temperature according to the number of slides per Coplin jar, 73°C for 1 slide, 74°C for 2 slides, 75°C for 3 slides, and 76°C for 4 slides.
- Place glass Coplin jars containing 40 mL of 0.5X SSC in the waterbath and allow the Coplin jar SSC solution to equilibrate to the waterbath temperature. Coplin jars, and contents, should be no cooler than room temperature when placed in the waterbath. Otherwise, the jar may crack. Confirm final temperature using a thermometer.
- Remove rubber cement and cover slips from the slides.
- Wash the slides in the 0.5X SSC for 5 min.
- Remove the slides and transfer to 40 mL PBS/T in a Coplin jar, at room temperature.
Detection
FISH
- Remove excess PBS/T from the slides and place in a humidified plastic slide chamber.
- Apply 100–500 μL CAS-block to the section and incubate for 10 min at room temperature.
- Tap off CAS-block, then apply 100 to 500 μL of antibody diluent containing the fluorconjugated detection reagents, e.g., 1:500 dilutions of streptavidin-Alexa 594 and antidigoxigenin- fluorescein. Incubate for 30 min at room temperature.
- Wash the slides 3× in 40 mL PBS/T, 2 min each wash, at room temperature.
- Counterstain slides with DAPI mounting medium.
CISH
- Remove excess PBS/T from the slides and place them in a humidified plastic slide chamber.
- Add CAS-block onto the section and incubate for 10 min at room temperature.
- Tap off CAS-block, then add HRP-streptavidin and incubate for 30 min at room temperature
- Wash the slides 3× in 40 mL PBS/T, 2 min each wash, at room temperature.
- Prepare the DAB substrate according to the manufacturer’s instructions, remove the excess PBS/T from the slides and incubate the slide with DAB for 15 min.
- Wash the slides 3× in 40 mL PBS/T, 2 min each, at room temperature.
- Remove excess PBS/T from the slides, add antidigoxigenin-fluorescein (see Note 2) andincubate for 30 min at room temperature.
- Wash the slides 3× in 40 mL PBS/T, 2 min each, at room temperature.
- Remove excess PBS/T from the slides, add alkaline phosphatase anti-fluorescein and incubate for 30 min at room temperature.
- Wash the slides 3× in 40 mL PBS/T, 2 min each, at room temperature.
- Prepare the Fast Red substrate according to the manufacturer’s instructions, then pass it through a 0.45 μm filter.
- Drain/tap excess PBS/T from the slides, then add Fast Red substrate to the section. Incubate for 30 min total with 2 changes of Fast Red substrate at 10 min intervals. This is accomplished by tapping the Fast Red substrate from the slides every 10 min and replenishing with additional filtered substrate.
- Wash the slides in 40 mL dH2O at room temperature.
- Counterstain the slides with hematoxylin, being careful not to overstain (see Note 3). Gill’s formula (without organic solvent–see Note 4) should be used in conjunction with Fast-Red.
- Wash the slides in running tap water for several minutes. Do not use ammonia citrate to intensify the blue of the hematoxylin.
- Heat the Glycerogel at 50–75°C in an oven or waterbath and add a drop to the section (without use of organic solvent) then cover it with cover slip. Remove excess glycerogel by gently pressing down on the cover slip, heat the slide on a hot plate (37–45°C) if the glycerogel has solidified.
Notes
- Residual extracellular and cellular proteins can give rise to dull red-to-orange autofluorescence, which can obscure the probe FISH signals, particularly when the actual probe signals are of low intensity. Autofluorescence can often be minimized by increasing the enzymatic digestion time for the paraffin section. Inadequate tissue section digestion will also tend to impede probe access to the target chromosomal domains (resulting in weak “true” signals) and can increase nonspecific binding of the probe to nonchromosomal cellular components. Therefore, digestion time should generally be increased if cell morphology is excellent (based on the DAPI counterstain), and if the cells have scattered small nonspecific signals. A properly hybridized paraffin section should have wellpreserved cell morphology (although not necessarily perfect), readily apparent probe signals, and should be devoid of nonspecific signals.
- The CISH detection protocol here stipulates amplification of the digoxigenin-labeled probe by sequential incubations with fluorescein anti-digoxigenin and alkaline phosphatase antifluorescein. However, digoxigenin-labeled probes can also be detected without the amplification step, in which case the fluorescein antidigoxigenin is replaced by alkaline phosphatase anti-digoxigenin.
- The different colors in dual-color CISH (brown from DAB and red from Fast-Red, in this protocol) are less distinct from each other than is the case for fluorescein vs rhodamine in dual-color FISH. It can be particularly difficult to distinguish DAB from Fast-Red when the probe signals are very small. However, the color differences can often be appreciated by focusing up and down through the section. At certain focal points, the Fast-Red will be more or less refractile and the distinct red color will be apparent. It is also important that the hematoxylin counterstain be kept to the minimum needed to define the nuclear contours and tissue architecture. Therefore, the hematoxylin should be only a light blue. Otherwise, the hematoxylin will mask the DAB vs Fast- Red color differences.
- Organic solvents cannot be used in mounting the cover slips after staining with Fast- Red. FISH and CISH slides are ordinarily kept at 4°C, although we have found that CISH slides can be kept at room temperature for approx several weeks. FISH signals fade partially after several months in storage, whereas CISH slides are stable for approx 2 yr.
- The dual-color CISH protocol can be modified slightly for combined CISH and immunohistochemical staining. In this case, one chromosomal target and one protein are detected by single color CISH and immunohistochemistry, respectively.