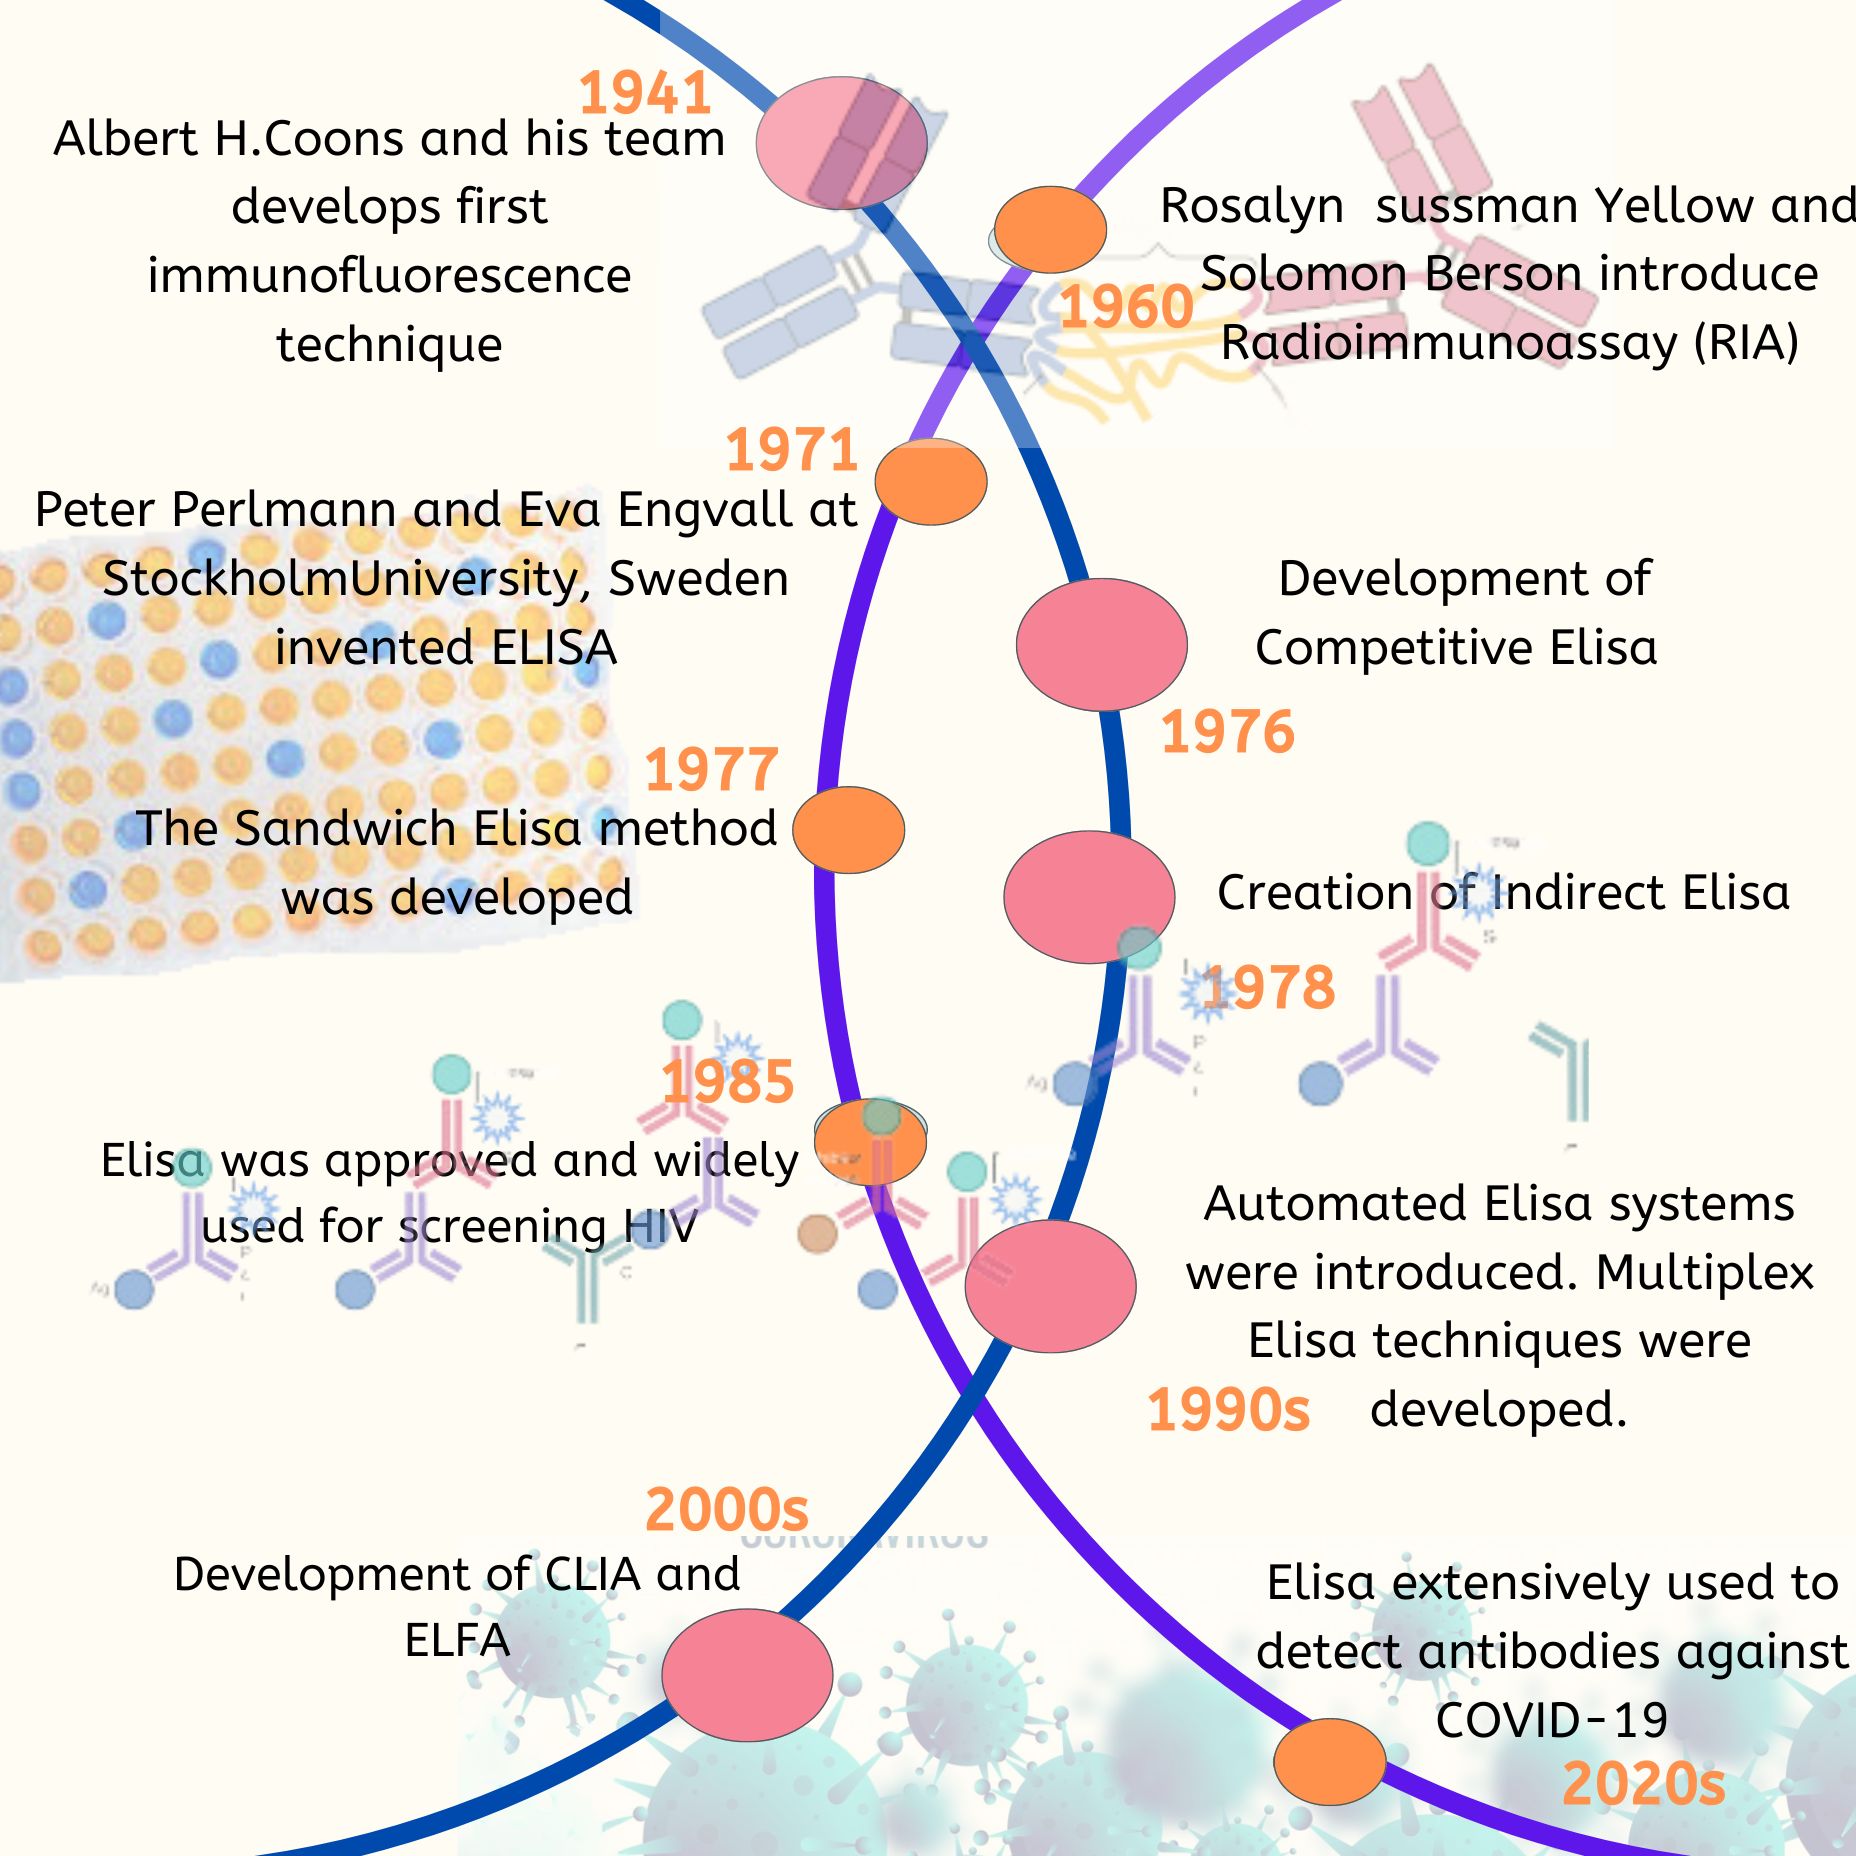
Introduction
Mutation detection plays a key role in the diagnosis, treatment, and prognosis assessment of cancer patients. Methods used for mutation detection include sequencing, RFLP analysis, MALDI-TOF analysis, denaturing HPLC/Surveyor, ligation-mediated PCR, high-resolution melting, peptide nucleic acid (PNA)3-locked nucleic acids, antiprimer quenching real-time PCR, Scorpion primers, molecular beacons, and methods based on TaqMan® probes. Because of its simplicity and speed, TaqMan genotyping is frequently used as an end-point approach. The reaction consists of 2 primers and 2 probes that match to either the wild-type or mutant allele. The polymorphic nucleotide is usually designed to be in the middle third of the probe, which is labeled with a reporter molecule at the 5′ end and with a non-fluorescent quencher at the 3′ end. Modifications of the TaqMan probe with minor-groove binders (MGBs) or locked nucleic acids increase the probe’s Tm (temperature at which 50% of the probe is denatured from the template) to allow the design of shorter probes and better discrimination between mutant and wild-type alleles. The selectivity limit of Taq-Man genotyping is the detection of mutant alleles present at an abundance of approximately 10%–20% of that of the wild-type allele. Because the frequencies of somatic mutations can often be lower (6-21 %), this limit poses problems for the use of Taq-Man genotyping in screening for somatic mutations in tumor surgical samples or bodily fluids that are often contaminated with wildtype alleles.
Recently described new form of PCR, coamplification at lower denaturation temperature– PCR (COLD-PCR), which preferentially enriches “minority alleles” from mixtures of wildtype and mutation-containing sequences, irrespective of where a mutation lies in the sequence. COLD-PCR is based on the observations that (a) for each DNA sequence there is a critical denaturation temperature (Tc) that is lower than the Tm of the target sequence and below which PCR efficiency drops abruptly, and (b) Tc is dependent on the DNA sequence. DNA amplicons differing by a single nucleotide have substantially different and reproducible amplification efficiencies when the PCR denaturation temperature is set to the Tc. These features are exploited during PCR amplification to selectively enrich minority alleles that differ by one or more nucleotides at any position in a given sequence. Consequently, COLD-PCR amplification of genomic DNA yields PCR products that contain high percentages of variant alleles, thus permitting their detection. We have demonstrated that COLD-PCR improves the selectivity of RFLP analysis, denaturing HPLC/Surveyor, Sanger sequencing, pyrosequencing, and MALDI-TOF–based mutation detection by one to two orders of magnitude.
Materials required
Phusion® HS II DNA Polymerase
5X GC Buffer for Phusion® HS II
dNTPs (10mM)* Clear
PCR Primer Mix
ICP Positive Control
* dNTPs 10mM (2.5 mM each)
JumpStart™ Taq DNA Polymerase
10X JumpStart Reaction Buffer
RS-oligo
Primary Sample Collection, Handling and Storage
The following protocol can be used with the following samples:
- DNA extracted from formalin-fixed paraffin-embedded tumor samples (FFPE slides & blocks) or fine need le aspirations (FNAs)
- Circulating free DNA (cfDNA) from plasma or serum
- DNA isolated from other body fluids
For optimal DNA extraction from FFPE, the tissue should be fixed in neutral buffered formalin for 14–24 hours, placed in ethanol and then embedded in paraffin following standard histological practices. Tumor biopsies are a heterogeneous mixture of tumor cells and non-tumor cells. In addition the tumor itself is a heterogeneous mixture of tumor cells with mutations and tumor cells without mutations. Because these somatic mutations may not be evenly distributed throughout the tumor, the resultant mutational analysis of different sections from the same tumor may be different. To increase the probability of detecting a mutation, DNA from the tumor region of the tissue should be isolated by scraping only the tumor area from the glass slide using a fresh, sterile scalpel for each new slide. It is recommended that at least two independent analyses are performed for each sample.
Note:
- Extracted DNA samples not intended for immediate analysis with this kit should be stored frozen at -20ºC to -80ºC.
- The PCR product from the PCR pre-amplification reaction can be stored frozen at -20ºC to -80ºC prior to use in ICP assays.
- The PCR product following the ICP enrichment assay can be stored frozen at -20ºC to -80ºC prior to use in the downstream sequence detection platform used by the laboratory.
- Exposure of any frozen sample to repeated freeze-thaw cycles should be avoided.
PCR Pre-Amplification Protocol
- Remove PCR Primer Mix, dNTPs and 5X GC Buffer from freezer and thaw on ice.
- Once thawed, vortex all kit components ~10 seconds to mix thoroughly. Briefly centrifuge ~10 seconds to ensure no liquid remains on tube lids and place on ice.
- Prepare PCR Master Mix on ice.
PCR Master Mix Guidance for 10 ng/μL DNA samples
| PCR Master Mix | * 1X |
| UV-treated Molecular Biology Grade Water (μL) | 18 |
| 5X GC Buffer (μL) | 10 |
| dNTPs (μL) | 4 |
| PCR Primer Mix (μL) | 2.5 |
| Phusion HS II DNA Polymerase (μL) | 0.5 |
| Total Volume PCR Master Mix for 1 reaction (μL) | 35 |
| Volume DNA added to reaction (150 ng total) | 15 |
- Use Table as a guide for preparing the PCR Master Mix for PCR reactions. Amount of UV-treated Molecular Biology Grade Water and volume of DNA can be adjusted accordingly. 150 ng of DNA should be used for each PCR reaction in order to potentially detect ≥ 0.01% mutation present in the starting material. Up to 33 μL DNA can be used in each PCR reaction with adjustment of volume of water used. Note: If DNA contains contaminants (ethanol carryover, EDTA etc.), increasing DNA volume may decrease PCR efficiency.
- Calculate required volumes for any given PCR Master Mix.
- If required, a Positive Control Mixture may be used in place of a sample (there is enough positive control for 3 reactions). Take into consideration that an PCR Master Mix volume slightly greater than the calculation above will be required to allow for losses during pipetting.
- Label 0.2 mL-PCR tubes or wells of a 96-well plate with appropriate sample information.
- Label a 1.7 mL-centrifuge tube for PCR Master Mix preparation.
- Add required volume of UV-treated molecular biology grade water to 1.7 mL-centrifuge tube labeled PCR Master Mix”.
- Add required amount of 5X GC Buffer, dNTPs and PCR Primer Mix to PCR Master Mix tubes.
- Take the DNA Polymerase out of the freezer, vortex for ~10 seconds, centrifuge for ~10 seconds and add required volume of DNA Polymerase to the MX PCR Master Mix tube. Cap PCR Master Mix tube.
- Before use, vortex PCR Master Mix tube for ~30 seconds and centrifuge for ~10 seconds. Store on ice until use.
- Pipette 35.0 μL PCR Master Mix into appropriate wells, changing pipette tips in between uses if using a single channel pipettor. If using a repeat pipettor, ensure that there is no spillage or splashing from well to well. Keep the plate on ice.
- To appropriate wells, add 15.0 μL of each sample template DNA or water (No Template Control, NTC). Use separate pipette tips for each sample and avoid cross-contamination of the samples by splashing. Cap w ells containing sample DNAs and NTC with 8-cap strips (if using a 96-well plate) or cap 0.2 mL-PCR tubes. Make sure caps are sealed securely.
- Optional sample: only after Step 14 is complete, open ICP Positive Control. Pipette an additional 10 μL of Molecular Biology Grade H2O and 5 μL of ICP Positive Control into Positive Control well/tube and cap well/tube. Addition of the kit positive control as the last sample to be added, lessens the chance of contaminating any test sample DNA. Cap each well with 8-cap strips (if using a 96-w ell plate) or cap 0.2 mL-PCR tubes. Make sure caps are sealed securely.
- Vortex (~1/2 speed) for 10 seconds. Centrifuge for ~20 seconds to ensure all solutions are collected at the bottom of wells or tubes. Verify that solutions are at the bottom of each well or tube. If not, repeat centrifugation.
Thermal Cycler Program for the PCR Amplification Protocol
- Use the thermal cycler protocol in Table 4 for PCR Amplification. Ramp Rates: C1000: 1.5 °C/sec; Veriti: 38.5%; Tetrad: default (3.0 °C/sec)
MX PCR Amplification Thermal Cycler Protocol
| Cycles | Temp (°C) | Time | |
| Initial Denaturation | 1 | 98 °C | 30 sec |
| Touchdown Amplification | 15 | 98 °C | 10 sec |
| 15 | 62 °C, -0.5°C/cycle | 20 sec | |
| 15 | 72 °C | 20 sec | |
| Amplification | 20 | 98 °C | 10 sec |
| 20 | 55 °C | 20 sec | |
| 20 | 72 °C | 20 sec | |
| Final extension | 1 | 72 °C | 5 min |
| Hold | 12 °C | Hold |
Note: Store samples at -20 °C.
Quality Control of PCR Products (optional)
- Analyze PCR product aliquots with an aliquot of a standard 100-bp DNA mass ladder on a 2% agar ose gel.
- Use the ladder to estimate PCR amplified DNA concentration.
- Bands ranging from 130 – 220 bp corresponding to the main PCR product should be observed.
- If no product is observed, ensure quality of input template DNA was sufficient.
- No PCR products should be visible in the NTC sample.
- If DNA products are visible with NTC, contamination is likely and the sample should not be tak en forward.
- Use your laboratory’s procedures for NGS analysis of the test samples.
PCR Product Analysis
The PCR product generated by PCR pre-amplification reactions can be used in any of the ICP assay(s).
MX-ICP Step-by-Step Instructions
Please refer to Template Considerations before using this protocol
- Procedure-Setup Ensure that the following ramp rates are used depending on thermal cycler:
- C1000: 1.5°C/sec
- Veriti: 38.5%
- Tetrad: default (3.0°C/sec)
- Preparation of Template DNA for ICE COLD-PCR Analysis
Template DNA will contain amplified product from 15 amplicons
- Qubit analysis should be performed on the PCR product.
- For those samples and controls with Qubit values >7 ng/μL, dilute the PCR product 1:200 in water (except KRAS 4B which would be 1:10 in water).
- Dilute the No Template Control from the PCR plate (NTC1) 1:200 in water.
III. For those samples with Qubit values <7 ng/μL, DO NOT PROCEED with ICP Analysis
- The PCR should be repeated with more starting DNA
- An additional sample may be needed
- If previously prepared and stored frozen, allow to thaw prior to use.
- ICP after PCR
- The following procedures should be performed in PCR Workstations.
- Use appropriate pipettes to aliquot reagents.
- Prior to PCR setup:
- Turn on UV crosslinker and allow to warm up/equilibrate for 5 min.
- Prior to preparing Master Mixes, UV crosslink all empty Master Mix tubes. Also UV crosslink 1.7 mL tubes containing appropriate volume of Molecular Biology Grade Water needed for Master Mix preparation. These tubes should be UV irradiat ed for 10 min (600 sec).
- Make sure all work areas are prepared for analysis of low level mutations. This includes correct use of the PCR Workstation, dedicated pipettes, tips, 10% bleach solution and DNA A way™ solutions.
- Remove ICP Primers, dNTPs, RS-oligo and Polymerase Buffer tubes from freezer, thaw on ice, vortex each for 10 sec and briefly centrifuge tubes to ensure no sample is on tube cap or sides of the tubes.
- Prepare Master Mix on ice.
- Use Table 5 as a guide for preparing the Master Mix for each ICP reaction assuming 1.0 μL of 1:200 (or
1:10 for KRAS 4B) dilution of PCR product is to be used/reaction.
Master Mix preparation
| Volumes per reaction | ||
| Number of reactions | Jump start polymerase | Phusion polymerase KRAS |
| Exon 2 & BRAF EXON 15 only | ||
| Volume of Water | 36.0 μL | 31.375 μL |
| Polymerase Buffer | 5.0 μL | 10.0 μL |
| dNTPs | 4.0 μL | 4.0 μL |
| MX-ICP Primers | 1.0 μL | 1.0 μL |
| RS-oligo | 2.5 μL | 2.5 μL |
| DNA Polymerase | 0.5 μL | 0.125 μL |
| Total Volume Master Mix | 49.0 μL | 49.0 μL |
- Calculate required volumes for any given Master Mix by reference to the chart above.
Note: an additional reaction will be required for a No Template Control (NTC2).
Note: take into consideration that a Master Mix volume slightly greater than this calculation will be required
to allow for losses during pipetting.
- Label 0.2 mL-PCR tubes or wells of a 96-well plate with appropriate sample information.
- Label a 1.7 mL-centrifuge tube for Master Mix preparation.
- Add required volumes of molecular biology grade water, Polymerase Buffer, dNTPs, ICP Primers and RSoligo to Master Mix tube.
- Take the DNA Polymerase tube out of the freezer, vortex for ~10 sec, briefly centrifuge and add r equired
volume to Master Mix tube.
- Cap Master Mix tube, vortex for ~10 sec, briefly centrifuge and st ore on ice until use.
- Pipette 49.0 μL of Master Mix into appropriate wells, changing pipette tips in between if using a single channel pipette. If using a repeat pipettor, ensure that there is no spillage/splashing from well to well. Keep plate/tubes on ice.
- Vortex and spin down diluted PCR product and No Template Control.
- To appropriate well, add 1.0 μL water to ICP no template control, NTC2.
- To appropriate well, add 1.0 μL diluted No Template Control from PCR (NTC1).
- To appropriate well, add 1.0 μL diluted sample from PCR.
- To appropriate well, add 1.0 μL diluted mutation positive control from PCR, if applicable.
- Once pipetting is complete, cap each column with cap strips (if using a 96-w ell plate) or cap 0.2 mL-PCR tubes. Make sure caps are sealed securely.
- Vortex (~1/2 speed) for 10 seconds. Centrifuge for ~20 seconds to ensure all solutions are collected at the bottom of wells or tubes. Verify that solutions are at the bottom of each well or tube. If not, repeat centrifugation.
Thermal Cycler Program for ICP Enrichment
Use the thermal cycler protocols in Tables for ICP Enrichment.
For specific ramp rates for thermal cycler see Step 1. Procedure Setup under the section ICP Step-by-Step Instructions.
Thermal cycler protocol for ICP
| Temperature | |||||||||||
| MX-ICP
Reaction |
KRAS2 | KRAS 3 | KRAS4A | KRAS 4B | NRAS 2 | NRAS 3 | NRAS 4A | NRAS 4B | BRAF EX 11 | BRAF EX 15 | Time |
| Initial Denautrating | 95°C | 5 min | |||||||||
| 30 Cycles Amplification | 95°C | 15 sec | |||||||||
| 67°C | 2 min | ||||||||||
| 75.5°C | 76.4°C | 70.5°C | 70.3°C | 75..5°C | 69.0°C | 69.5°C | 70.8°C | 69.7°C | 69.5°C | 30 sec | |
| 62°C | 52°C | 55°C | 55°C | 62°C | 60°C | 61°C | 55°C | 55°C | 58°C | 30 sec | |
| 72°C | 30 sec | ||||||||||
| 5 Cycles Amplification | 95°C | 15 sec | |||||||||
| 62°C | 52°C | 55°C | 55°C | 62°C | 60°C | 61°C | 55°C | 55°C | 58°C | 30 sec | |
| 72°C | 30 sec | ||||||||||
| Final Extension | 72°C | 5 min | |||||||||
Thermal cycler protocol for ICP
| Temperature | ||||||||
| ICP reaction | EGFR Ex 12 | EGFR Ex 18 | EGFR Ex 19 | EGFR Ex 20 | EGFR Ex 21 | PIK3CA Ex 9 | PIK3CA Ex 20 | Time |
| Initial Denaturing | 95 °C | 5 min | ||||||
| 30 cycles
Amplification |
95 °C | 15 sec | ||||||
| 67 °C | 2 min | |||||||
| 70.3 ºC | 76.9 ºC | 70 ºC | 71.0 ºC | 78.2 ºC | 71.5 ºC | 69.7ºC | 30 sec | |
| 55 ºC | 55 ºC | 55 ºC | 60 ºC | 55 ºC | 56 ºC | 61 ºC | 30 sec | |
| 72 °C | 30 sec | |||||||
| 5 cycles
Amplification |
95 °C | 15 sec | ||||||
| 55 ºC | 55 ºC | 55 ºC | 60 ºC | 55 ºC | 56 ºC | 61 ºC | 30 sec | |
| 72 °C | 30 sec | |||||||
| Final
Extension |
72 °C | 5 min | ||||||
Note: Store the samples at -20 ºC until sequence analysis.
Quality Control of ICP Products (optional)
- Analyze an aliquot of ICP product with an aliquot of 100-bp DNA mass ladder on a 2% agar ose gel to estimate to estimate amplified DNA concentration.
- Only a single band corresponding to the main ICP product should be observed.
- If multiple bands are present check quality of input DNA.
- If no product is observed, ensure quality of input template DNA was sufficient.
- No ICP products should be visible in No Template Control sample. If DNA products are visible with this control, contamination is likely and sample should not be taken to sequence analysis.
- Using your laboratory’s procedures proceed to sequence analysis of the test samples.
ICP Product Analysis
The PCR product generated by the ICP enrichment reactions can now be used for DNA sequence analysis using standard laboratory procedures for the particular platform chosen. If your downstream platform of choice is SANGER, then please use the sequencing primer (one direction only) in Table for your analysis. If your downstream platform of choice is NGS, then please see the amplicon targeted regions for PCR and ICP.